
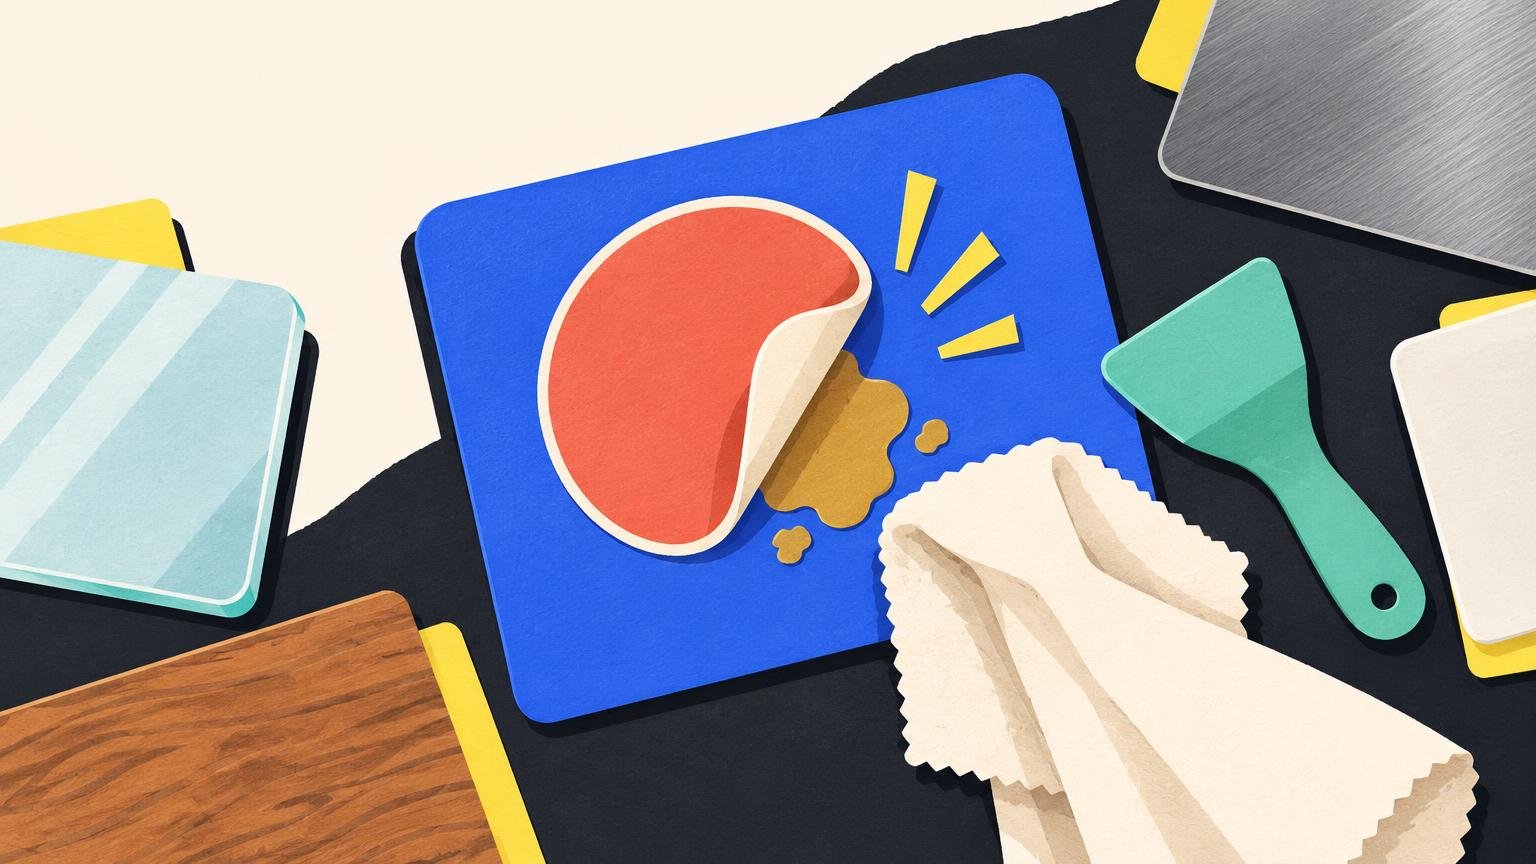
The safest way to remove sticker residue is to start dry and gentle: roll or lift the adhesive with a fingertip, fingernail or plastic card, then use mild soap and water if the surface allows it. Apply heat or a stronger cleaner only after checking the manufacturer’s care instructions and testing a hidden spot.
That is the practical answer to how to remove sticker residue without turning a minor annoyance into a permanent finish experiment. The correct method depends less on the glue’s determination to ruin your afternoon and more on what sits beneath it.
Start with the mildest method that works
- Remove the remaining sticker material. Peel slowly and keep the pull angle low rather than yanking upward.
- Lift loose adhesive with a clean fingertip, fingernail or plastic card. Work from the edge toward the center so you do not spread the residue.
- If the surface tolerates water, wipe it with a soft cloth dampened with mild soapy water. Do not soak seams, unfinished edges or electronic parts.
- If adhesive remains, check whether the item’s manufacturer permits gentle heat or a particular cleaner.
- Test any cleaner on a small, inconspicuous area. Let the test spot dry completely before judging the result.
- Wipe away softened residue with a clean cloth, then clean and dry the surface according to its care instructions.
Removing as much of the sticker as possible before treating the adhesive reduces the amount of cleaner and rubbing required. Testing is particularly important on plastic and painted finishes, where a cleaner may change the gloss, color or coating even if it removes the glue beautifully. A spotless patch surrounded by ruined paint is technically clean, but not in the satisfying sense.
Why sticker residue behaves differently on every surface
Sticker adhesive contacts the outermost layer, not the broad material category printed on a product listing. On metal, that layer might be paint, clear coat, plating, anodizing or powder coat. On wood, it is often lacquer, varnish, oil, wax or another finish. Plastic may have a coating or printed decoration that reacts differently from the plastic underneath.
Material composition, surface roughness and surface energy all influence adhesion. Age, ultraviolet exposure, humidity, coating condition, adhesive type and removal speed can also affect how readily a graphic releases and whether residue stays behind. For broader sticker application and material advice, it helps to compare the sticker construction as well as the surface receiving it.
If you plan to replace the label, tell the printer where it will be applied, how long it must stay there and whether clean removal matters when ordering custom stickers. “Sticky, please” is not quite the complete technical brief it appears to be.
How to remove sticker residue by surface
Ordinary uncoated glass
Start with mild soapy water and a soft cloth. Hold the damp cloth against the residue briefly, then rub gently or lift the softened adhesive with a plastic card. Repeat rather than increasing pressure immediately.
A scraper should be considered only on ordinary, uncoated glass when the glass manufacturer permits it. Keep the surface wet and avoid using a blade near seals or printed details. Do not use a scraper on tint, window film, decorative film, coated glass, mirrors with exposed backing or any glass whose construction is uncertain. A plastic scraper is the safer default.
Do not assume heat or solvent is suitable merely because the base material is glass. 3M’s graphic-removal guidance specifically warns against using heat or chemicals to remove film from glass, reinforcing the need to follow the window or product maker’s instructions. Specialty glazing has layers that are considerably less impressed by improvisation than a plain jam jar.
Bare, painted or coated metal
Begin with a plastic card and mild cleaning. Bare stainless steel, painted steel, anodized aluminum, plated hardware and powder-coated metal are not interchangeable surfaces. Treat the coating—not the metal underneath—as the vulnerable material.
If mild soap does not work, consult the item’s care guidance and test a compatible adhesive remover in a concealed spot. Stop if the cloth picks up color or the test area becomes dull, tacky, streaked or unusually shiny. Avoid steel wool, abrasive pads and metal blades on coated metal.
Finished wood
Use dry, gentle lifting first. Roll the adhesive with a fingertip or ease it up with the rounded edge of a plastic card, following the grain where practical. If residue remains, use only a cleaning method approved for that specific furniture, floor or wood finish.
Do not soak the area or reach automatically for alcohol, citrus solvent or a household degreaser. Wood finishes vary too much for one solvent to be universally safe. Manufacturer care guidance for finished surfaces commonly warns against solvents, abrasives, strong detergents, ammonia and harsh chemicals because they can damage the finish.
Be especially conservative with antiques, veneer, unsealed wood, waxed furniture and finishes that are already cracked or lifting. In those cases, a furniture conservator or the item maker is a better next step than escalating the chemistry.
Plastic
Use a soft cloth, a plastic card and mild soap and water first, provided the object can safely be dampened. Plastic is a family of materials, not one material wearing many name tags. A cleaner that leaves one container untouched can haze another, soften a coating or remove printed markings.
Before using rubbing alcohol or a commercial residue remover, check the product instructions and test a hidden spot. Let it dry fully and inspect the area under good light. Do not proceed if you see clouding, whitening, softened plastic, color transfer or a change in sheen. Avoid strong heat, particularly on thin, flexible or unknown plastics.
Painted surfaces
First determine what kind of paint you have. Fully cured automotive paint, household wall paint, painted furniture, powder coat and fresh paint require different care. Lift residue gently, avoid abrasives and use a cleaner only when its instructions explicitly cover that finish.
For the narrow case of cured automotive paint, 3M states that its non-abrasive product is safe on nearly all cured automotive paint when used as directed. The same page says the product is intended for industrial or occupational use rather than consumer sale or use. Consult 3M’s adhesive-removal guidance for painted surfaces for its stated application limits rather than treating it as approval for walls, furniture, fresh paint or every coated object with ambitions of being a car.
On household paint, use gentle dry lifting first and follow the paint manufacturer’s cleaning instructions. Stop if pigment transfers to the cloth, the sheen changes or the paint feels soft. With fresh paint, damaged paint or an unknown finish, waiting for manufacturer guidance is safer than experimenting.
Use heat cautiously, not heroically
Gentle warmth can soften some adhesives, but it is an escalation step rather than the universal opening move. 3M notes that heat can aid removal while also identifying heat-sensitive substrates and warning against heat on glass in its graphic-removal guidance.
Use warmth only if the item maker permits it. Keep the heat source moving, use the lowest effective setting and stop if the material warps, softens, discolors or becomes uncomfortable to touch. Skip heat on glass, electronics, batteries, thin plastic, laminated items and unknown coatings unless the manufacturer supplies a safe procedure.
Methods that cause more trouble than the residue
- Abrasive pads or scouring powders on paint, plastic, clear coats, plated metal or finished wood
- Metal blades on plastic, painted surfaces, coated metal or specialty glass
- Untested acetone, paint thinner, strong degreasers or other aggressive solvents
- High heat on glass, thin plastic, electronics or an unknown coating
- Soaking finished wood, veneer, seams or laminated edges
- Assuming a remover approved for cured automotive paint is safe for wall paint or furniture
- Mixing cleaning products or using a product without adequate ventilation and label-directed protective measures
When to stop and check the manufacturer
Pause before treatment if the item is antique, collectible, warrantied or difficult to replace. The same applies to unsealed wood, screen protectors, electronics, specialty plastics, fresh paint, damaged finishes, coated windows and packaging whose printed surface contributes to its value.
Also check the care instructions before cleaning food-contact items. After using an appropriate residue cleaner on a jar, dish or similar object, wash it thoroughly with soap and water before use. A cleaner being effective on adhesive does not automatically qualify it as salad dressing.
If the sticky feeling is gone but an outline remains
A darker, cleaner, shinier or discolored patch may not be adhesive. The covered area may have faded less than the surrounding material, stayed cleaner, or developed a different sheen. The finish itself may also have changed during removal.
Run a clean fingertip lightly across the area. If it no longer feels sticky or raised, stop applying solvent. More cleaner will not necessarily correct uneven fading or finish damage and may enlarge the visible patch. Let the surface dry completely, inspect it in neutral light and consult the manufacturer if appearance restoration matters.
The safest final answer
When deciding how to remove sticker residue, identify the actual surface finish and escalate one step at a time: gentle lifting, mild cleaning, manufacturer-approved warmth if appropriate, then a tested surface-compatible remover only when necessary. Use the least aggressive method that succeeds.
If the residue resists that sequence, stop before the surface becomes the expensive part of the problem. Glue is annoying. Stripped paint, clouded plastic and a pale rectangle on walnut have considerably stronger personalities.
Frequently Asked Questions
Is rubbing alcohol safe for removing sticker residue from plastic or paint?
Not universally. Check the cleaner and surface-care instructions, test a concealed spot, let it dry fully and stop if you see clouding, color transfer, softening or a change in sheen. Testing is especially important on plastics and painted finishes.
When should I avoid using a scraper on glass?
Avoid scrapers on tint, window film, decorative film, coated glass, exposed mirror backing and glass of uncertain construction. Even on ordinary uncoated glass, use one only if the manufacturer permits it; a plastic scraper is the safer default.
Why is an outline still visible after the residue is gone?
The covered area may have faded less, stayed cleaner or developed a different sheen. If the area is no longer sticky or raised, let it dry and stop escalating with solvent, which may enlarge the visible patch.