
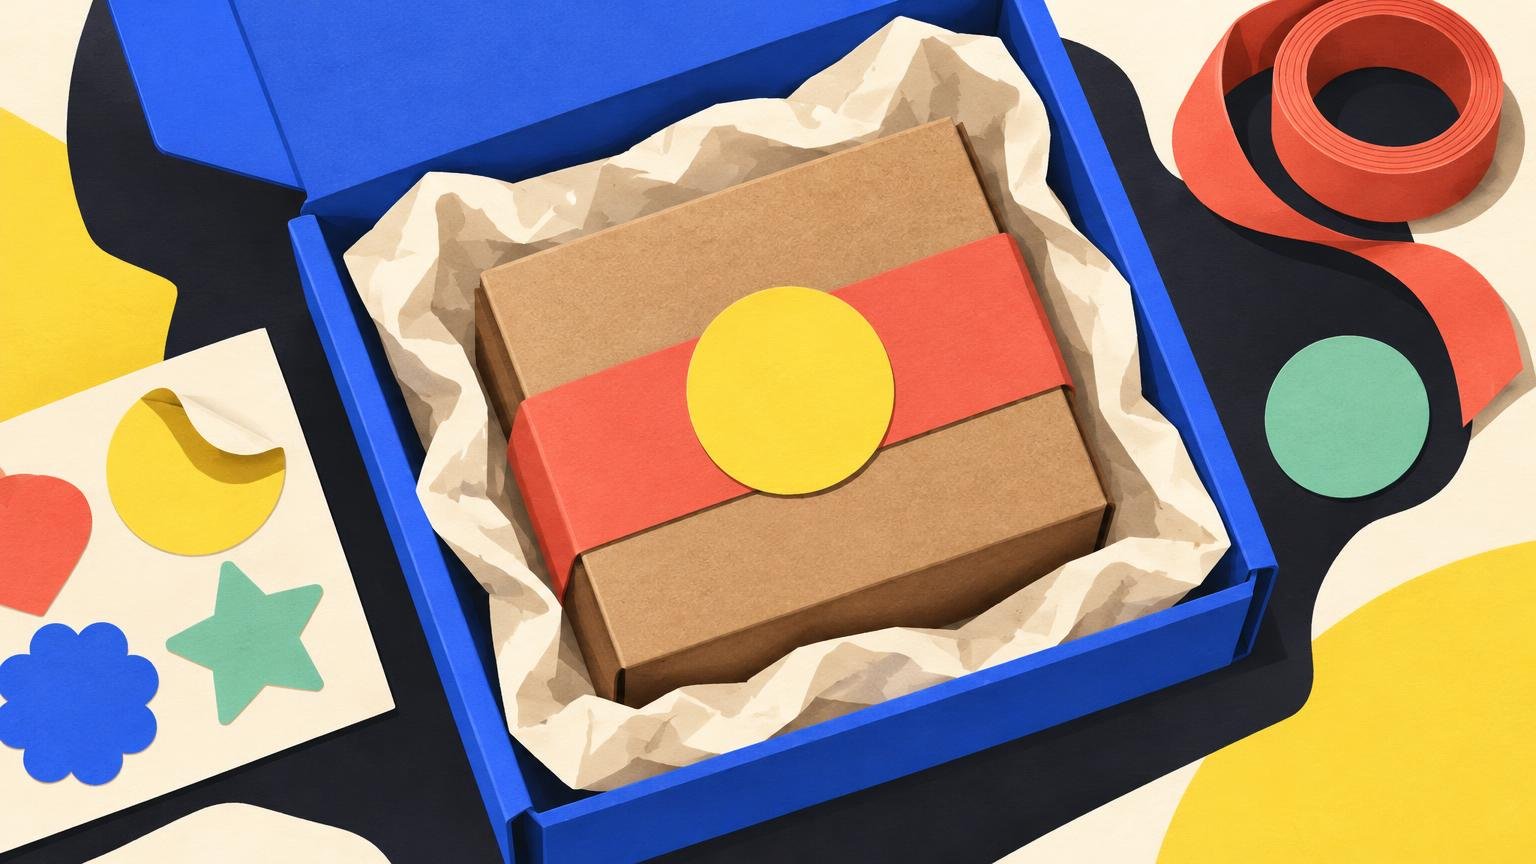
The best sticker packaging ideas do one of three jobs: seal the package, identify the product or add a deliberate branded detail. For most handmade businesses, the strongest combination is a simple product label plus one decorative seal on a kraft box, tissue wrap or belly band. It looks considered without turning every order into a tiny craft emergency.
Match the sticker to the actual packaging surface, not merely to the mood board. Smooth coated paper, fibrous kraft board, delicate tissue and plastic containers do not offer the same bonding conditions. Choose the format first, test the adhesive on the exact packaging stock, and then decide whether matte or gloss delivers the look you want.
Start with the sticker’s job
A sticker can decorate packaging, close it or communicate essential product details. Asking one tiny circle to do all three usually creates a crowded design that looks as though the ingredients list has taken the logo hostage.
- Use a branding seal to close tissue, a paper bag or a belly band.
- Use a product label for the item name, scent, variant, quantity, care details or other information the buyer needs.
- Use a decorative sticker as an accent or customer extra rather than forcing it to carry small text.
- Use a shipping or handling label only when its material and adhesive suit the parcel and delivery conditions.
Pressure-sensitive labels consist of printable face material, adhesive and a release liner. They bond under light pressure rather than requiring heat, water or solvent. The face material carries the artwork; the adhesive determines how the label interacts with the package. Those are separate decisions, despite being sold together in one suspiciously innocent-looking sticker.
Choose the right idea for each packaging format
| Packaging format | Best sticker use | What to check |
|---|---|---|
| Kraft box | Logo seal or product label | Surface roughness, recycled content and edge lift |
| Tissue wrap | Small closure seal | Wrinkling, fibers and available application pressure |
| Belly band | Seal at the overlap | Paper coating, band tension and placement |
| Jar or bottle | Primary product label | Container material, moisture and handling |
| Small-batch assortment | Sticker sheet with multiple designs | Useful sizes, easy peeling and consistent branding |
Kraft boxes: keep the design bold
Kraft boxes suit high-contrast labels with uncomplicated shapes and readable type. A matte paper face can create a natural, understated appearance, while a gloss or laminated face adds visual contrast. Finish alone does not guarantee durability or adhesion; those depend on the complete face material, topcoat and adhesive system.
Tissue wraps: use a small seal, not structural engineering
A modest round or oval sticker works well as a tissue closure because it gives the customer an obvious opening point. Keep important artwork away from the tear zone if you want the logo to remain recognizable after opening.
Tissue introduces wrinkles, loose fibers and limited support beneath the sticker, all of which can reduce adhesive contact. There is no universal adhesive specification that works on every tissue wrap. Apply the seal on a supported, reasonably flat area and test whether it holds through packing and normal handling. If opening the parcel requires the strength of a competitive powerlifter, the sticker is no longer charming.
Belly bands: let the paper carry the story
A belly band provides room for product details, care instructions or a short brand message. The sticker can simply close the overlap. This keeps the seal visually clean while allowing the printed band to do the conversational heavy lifting.
Place the sticker where the paper overlaps rather than directly on the product whenever possible. Confirm that it grips the band’s finish and does not release when the band flexes. For a deeper comparison of intended removal and long-term grip, see the guide to permanent and removable sticker adhesives.
Match the adhesive to the surface and conditions
Paper, glass, metal and plastic can all accept pressure-sensitive label constructions, but the suitable construction varies by substrate. Rubber-based adhesives can provide strong initial tack and work on cardboard, although heat and sunlight resistance may be more limited. Acrylic systems are generally better suited to longer exposure to heat, humidity, chemicals and weathering, but may take time to reach final peel adhesion.
For ordinary dry indoor boxes and bags, prioritize reliable initial grip on the chosen paper stock. For bottles, jars or packages likely to encounter moisture, temperature changes or repeated handling, ask the printer about the complete label construction rather than accepting “waterproof” as a magical one-word specification.
Application matters too. The surface should be dry and free from contamination, and firm pressure improves adhesive contact. Temperature and time also influence the bond. The 3M guidance on adhesive selection and surface conditions explains why surface energy, texture and cleanliness belong in the decision.
Use finish to control the look, not to solve everything
Choose matte when you want restrained color, lower glare and a softer visual relationship with kraft or uncoated paper. Choose gloss when saturated color, contrast and a polished surface suit the product. Gloss enjoys attention. Matte has already decided it does not need your approval.
Coated paper has a thin coating on one or both sides and can range from eggshell to glossy. A coating can also form a clear film that protects or seals a substrate or produces gloss. The coated paper and finishing terminology from PRINTING United Alliance is useful when comparing printer specifications that otherwise sound needlessly mystical.
Do not treat appearance as proof of performance. A glossy sticker is not automatically moisture-resistant, and a matte sticker is not automatically paper. Ask what the face material, print system and protective topcoat are intended to withstand.
Build a flexible small-batch packaging system
Small runs benefit from reusable components. Start with one neutral box, bag or tissue color, then change product information through stickers and belly bands. This lets several scents, flavors, colors or seasonal editions share the same base packaging without leaving you with 400 boxes devoted to a fragrance everyone politely ignored.
A practical starter set includes one primary logo seal, one product-label template with editable variant information and a small sheet of decorative accents. Sticker sheets can contain multiple kiss-cut designs, shapes and sizes on one sheet, making them useful for mixed packaging elements or order extras. For broader formats, materials and artwork preparation, compare suitable custom labels and sticker printing options before committing to a larger quantity.
Keep repeated design elements consistent: logo size, type hierarchy, color coding and label placement. If several labels share one production file, prepare clean cut paths and adequate spacing. The guide to preparing sticker artwork for printing covers the file setup that prevents an attractive concept from becoming a trimming anecdote.
Test the complete package before ordering more
Apply samples to the real boxes, tissue, bands and containers. Press them down as they would be applied during packing, then leave them long enough to reveal obvious lifting or curling. Handle the packages, stack them and expose them to the ordinary conditions they will meet before reaching a customer.
- Check whether corners or narrow points lift.
- Confirm small text remains readable at the printed size.
- Open tissue seals and belly bands to evaluate the customer experience.
- Look for damage, residue or torn fibers where removal matters.
- Repeat the test if the packaging supplier changes its stock or finish.
For more ways to distribute a small sticker budget across packaging and customer extras, explore these small-business sticker uses. The final recommendation is simple: begin with one clear product label and one well-tested seal. Add decorative formats only when they improve the package rather than merely proving that your printer offers holographic laminate.
References
- Pressure-Sensitive Labels for Brand Impact & Circularity | Avery Dennison
- Technical application solution: Packaging solutions | Avery Dennison | Performance Tapes
- Substrate Surface Consideration for Adhesive Selection
- Pressure Sensitive Materials – Applications and Design Considerations | Avery Dennison | LPM
- Glossary
- Sticker Sheets – YouStickers